Communicate with your registrants by utilizing your Registrant Reports OR User Accounts menu panel option, located on the left side of your dashboard.
For communication by utilizing your reports, you have the ability to contact your registrants by using either your:
- Registration Report
- Daily Report
___________________________________
If you are communicating by utilizing the User Accounts tab, skip to the To Communicate section.
If you are communicating through reports, please read all sections, in order, below.
BEFORE COMMUNICATING:
- Once you have composed your report to include the registrants you intend to communicate with ensure you have properly filtered your report to include the intended recipients of communication.
- If you are sending a mass email, whether custom or a resend of the confirmation, ensure that you set the Display option (shown on the same level line as the run button, on the far-right side) to 5,000, or a number which exceeds the total amount of registrants you will communicate with. The reason for doing this is so that all registrants you will communicate with compose on the first, and single, page of your report.
If your registrant total for communication purposes exceeds 5,000, set the Display to 5,000 and ensure you know where to begin the communication process with any/all proceeding registrants receiving communication from you on the following pages of your report.
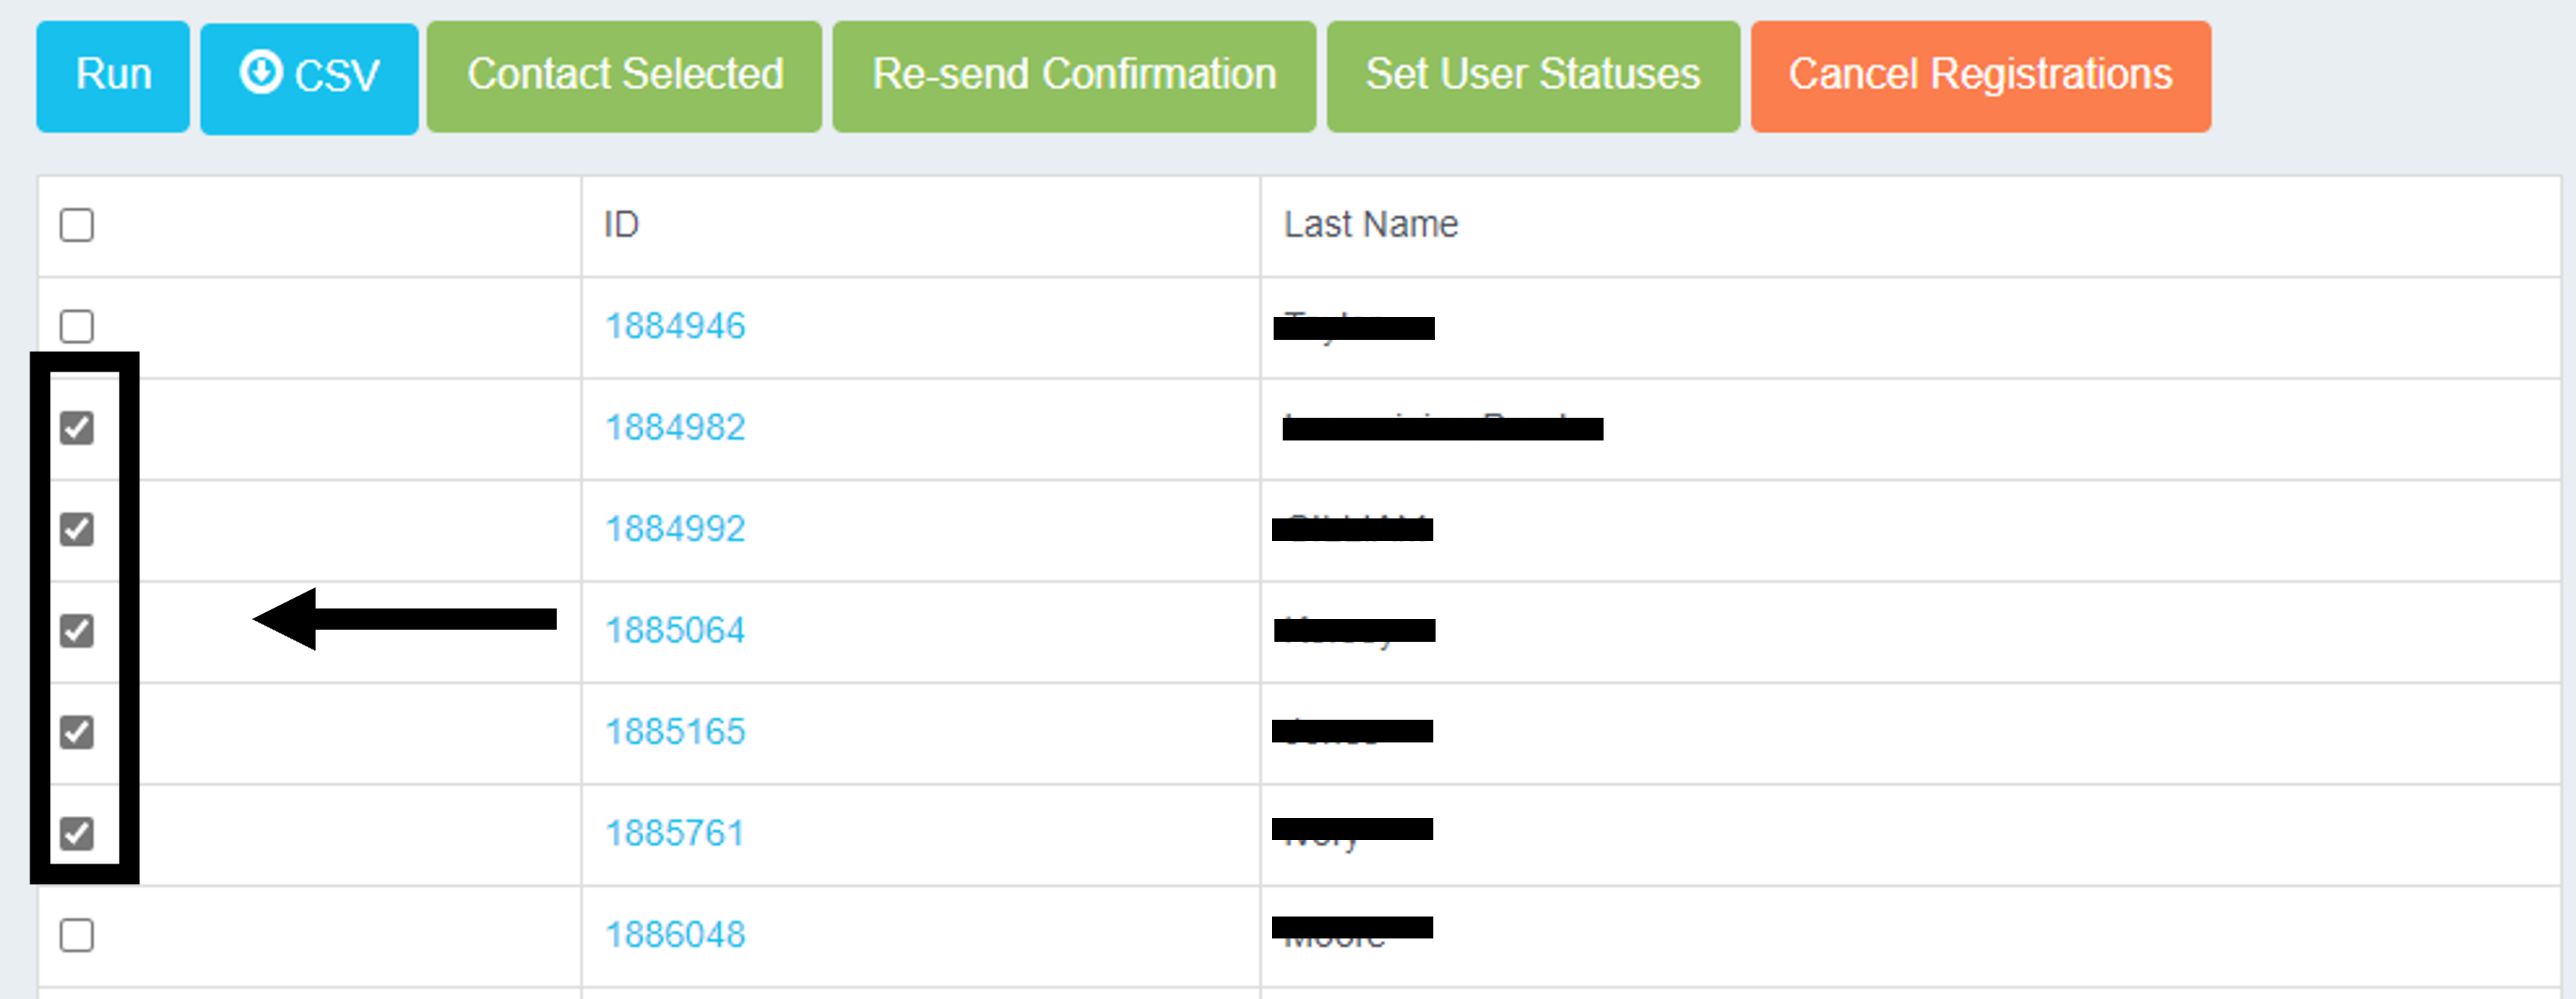
STEP 1: SELECT YOUR RECEPIENTS
Select your registrants to communicate with:
- Select all registrants in report: Click the box shown in the top-most left corner of your report. This will check-mark all registrants shown on this page of your report. (This is why we recommend changing the display number to be above your registrant total that is receiving communication)
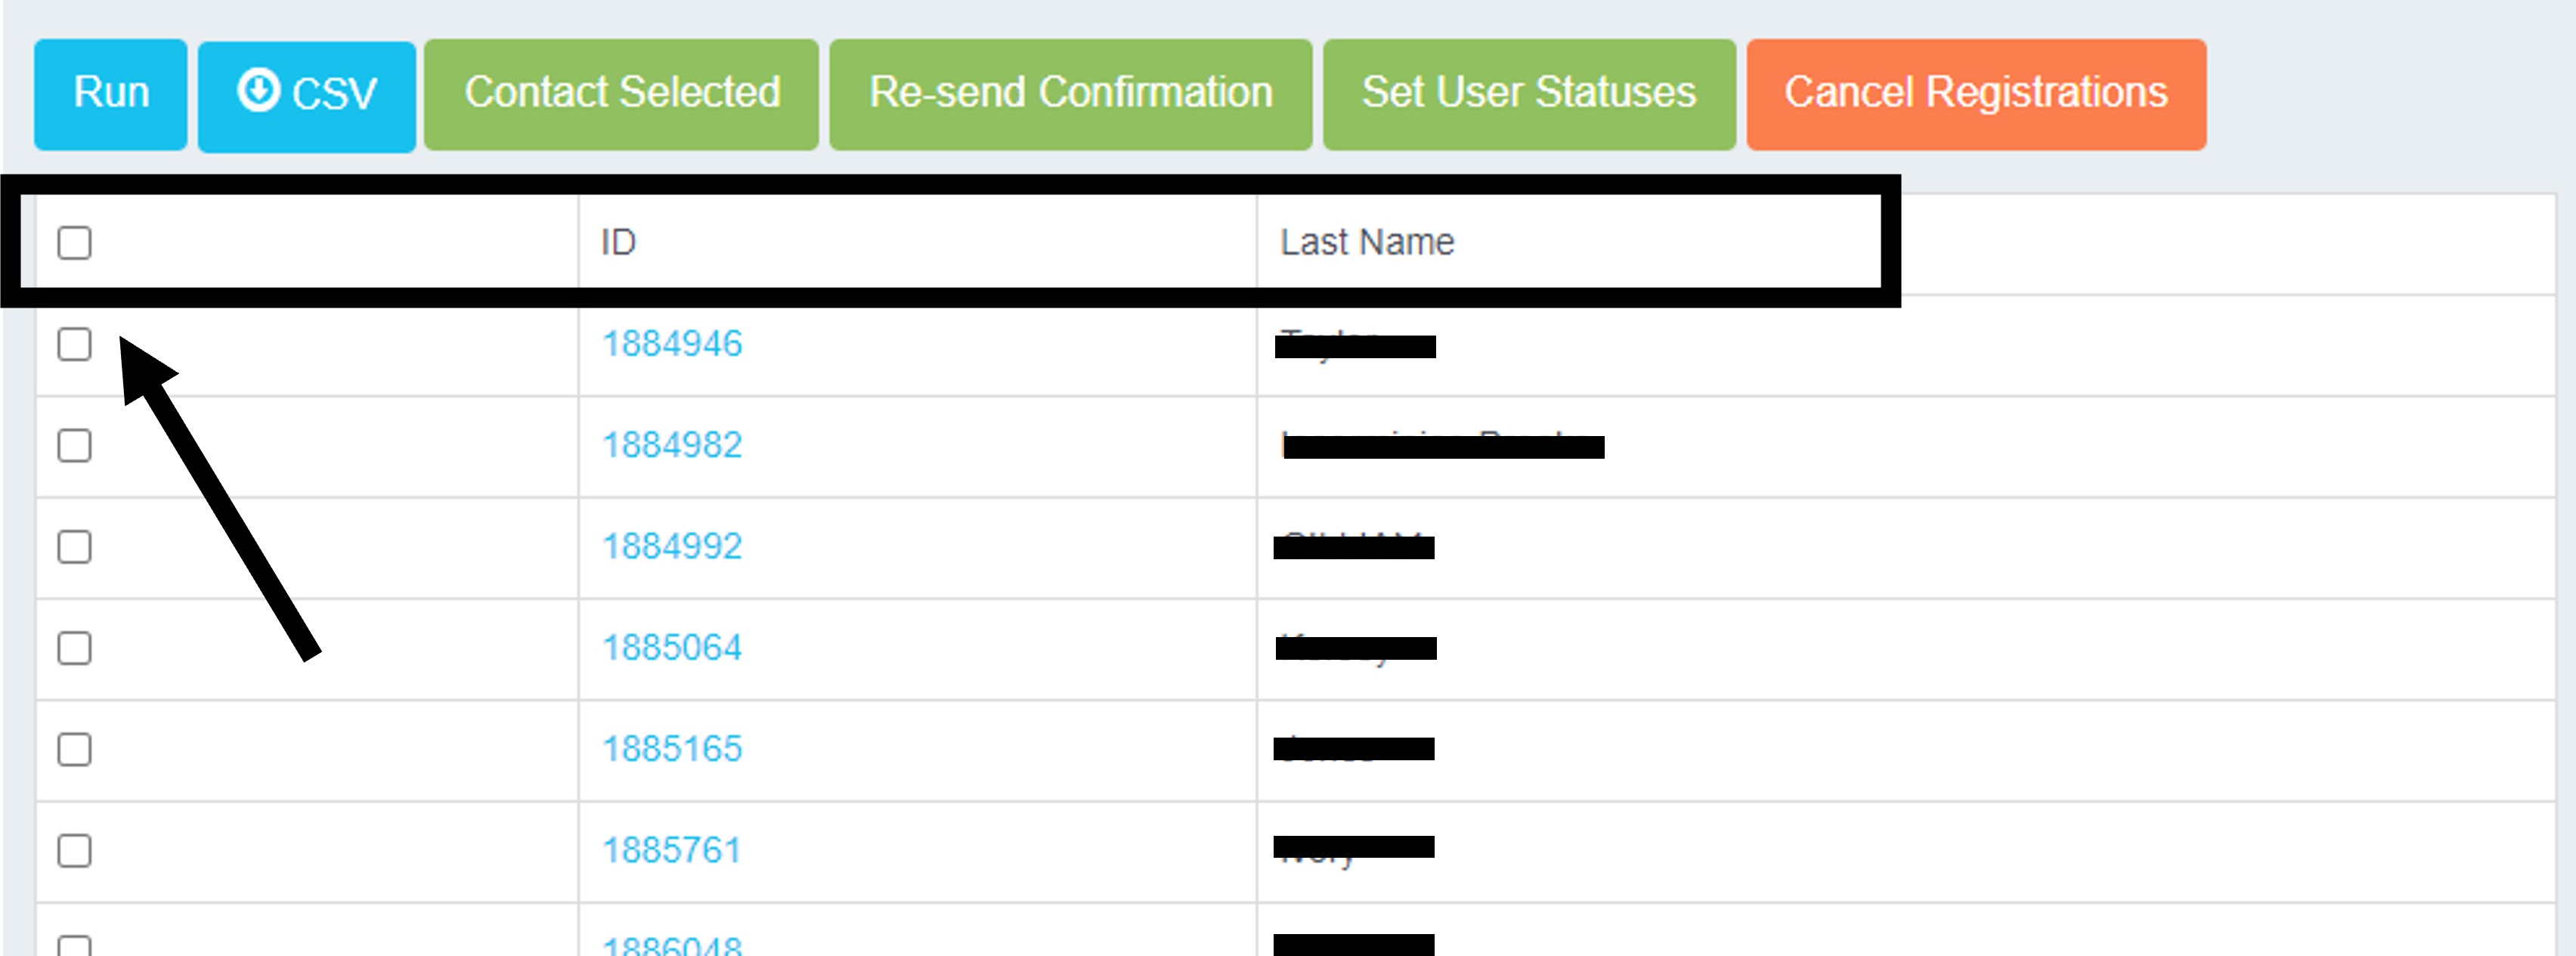
- Select a single, or several registrants in the report: Simply locate the open box on the left side of each row. Click to check-mark the box associated to the registrant, or registrants, who will be receiving communication.
STEP 2: SELECT COMMUNICATION CHANNEL, SEND
(NOTE: If you have never communicated with registrants, it is highly recommended to complete "text" sending of custom emails and/or text messages to yourself or individuals within your organization, prior to sending real custom messages, to ensure no errors occur).
__________________________
Once the applicable registrants in your report have been selected, or you have selected the appropriate individual(s) in User Accounts, please click:
- Contact Selected to compose a custom email, or send a custom text message
- OR Re-send Confirmation to resend the registrant's or registrants' confirmation email of their current existing registration details/schedule and the associating confirmation email message created within your site editor.
Clicking Contact Selected:
Custom Email message fields
Name your campaign: Can replicate the title of your email subject.
Recipients: Your recipients will automatically compose based on the selection you've made previously.
CC Emails: Add a valid email address, or email addresses, that should receive a CC of the custom email you are sending.
Sender name: Your event/organization name, or the name you wish to display for registrants who receive the custom email.
Example: myTRS Support
Reply to: A valid email address that registrants can reply to for actual communication
Subject: The title/subject of your email message
Email content: The message/information composed within the email you are sending.
Once you have filled out the above fields:
You may review the list of recipients if needed, to ensure you have selected the correct individual or individuals. If you need to modify your selected recipients, simply click cancel to exit the pop-up.
If you are ready to send, click send email.
You are all done! The custom email message has been sent.
Custom texts
- Utilize your reports to send text messages.
- Text messages have a 140-character limit.
- Send a "test" text message to yourself, or someone on your team, prior to sending it to your registrants to ensure everything looks correct.
- Text messages should be used sparingly. It is possible that individuals may not provide their phone number or will provide a landline or fake number. The #1 reliable communication channel is through custom emails, but text messages can be useful for urgent matters.
- Click Text Messages (SMS)
- Type out your custom text
- Click Send Text Message (SMS)
You are all done!
Clicking Re-send Confirmation:
Once you click this option, a pop-up will appear with the registrant, or list of registrants, who will receive a new copy of their confirmation email.
You may review the list if needed, to ensure you have selected the correct individual or individuals. If you need to modify your selected recipients, simply click cancel to exit and modify as needed.
If you are ready to send, click send email.
You are all done! The confirmation email(s) specific to your registrant(s) schedule have been sent.
Comments
0 comments
Please sign in to leave a comment.